Guide complet sur comment installer Ubuntu sous VirtualBox

VirtualBox is software that allows you to try out several operating systems (Linux, Windows, BSD, etc.) on your current laptop or desktop without installing them on the hardware. However, there are many software such as Virt-manager or VMware. And VirtualBox, is the one among them, which brings additional features. This complete guide will teach you how to install Ubuntu under VirtualBox.
How to install Ubuntu under VirtualBox
If you do not have this virtualization software, download it here. When the download is finished, launch the executable file. Continue the installation of VirtualBox with the default values. This will open the software at the end of the installation.
Creating a virtual machine
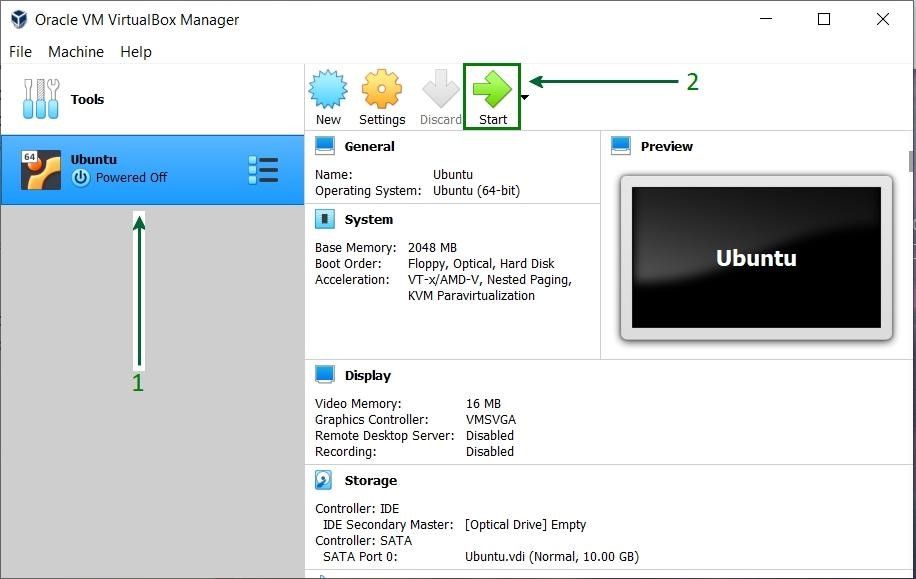
Arrive on the Virtual box interface:
- You will click the ¨ New ¨ button.
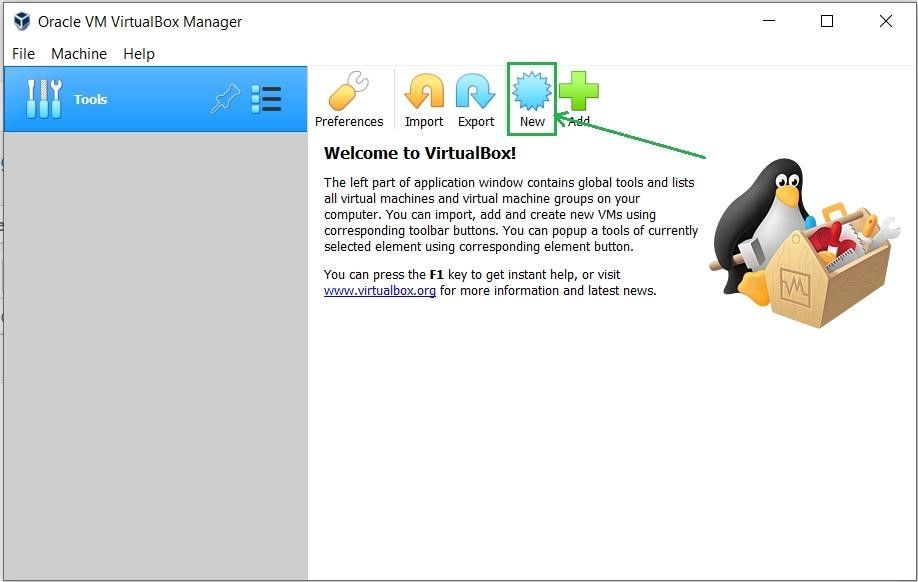
A dialog box will be opened
- Give your virtual machine a name and select the location where it will be installed

- Allocate a RAM size for your virtual machine

Note: the size of the memory depends on the size of your host machine. Note that VirtualBox will create a swap partition with the same amount of space as the base memory you entered here. So, when you allocate the size of the virtual hard disk, make sure it is big enough since the hard disk will be divided into a root partition.
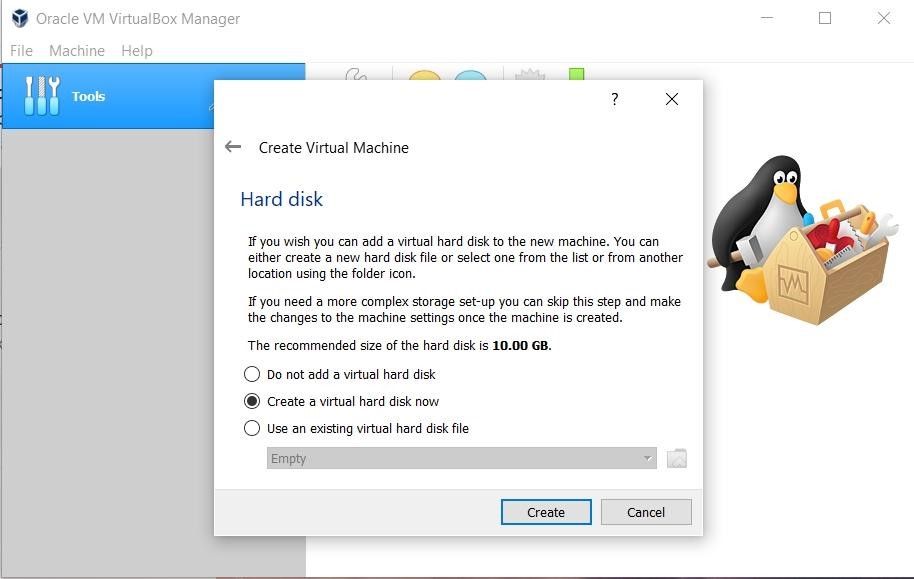
- Create a virtual hard disk for the machine to store files.
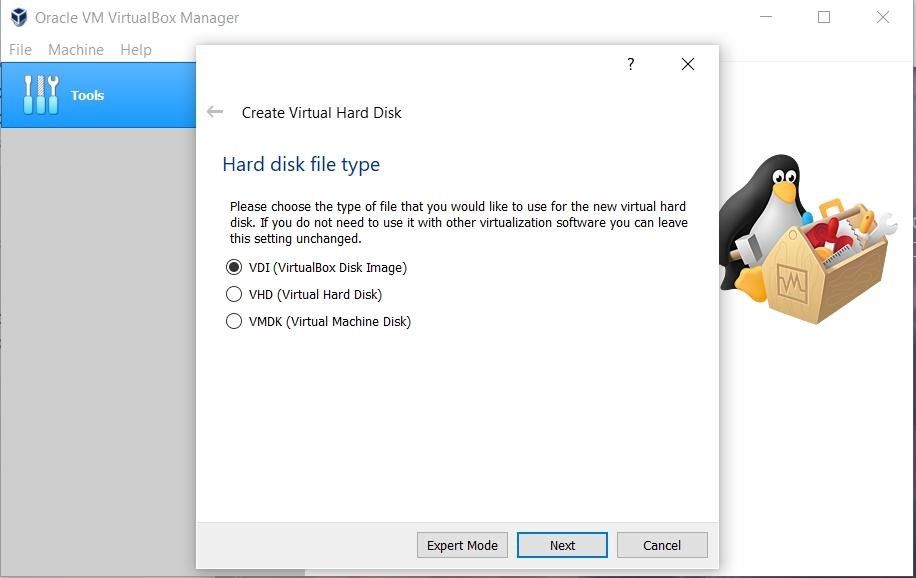
- Select the type of hard disk. It is recommended to use the VDI type.
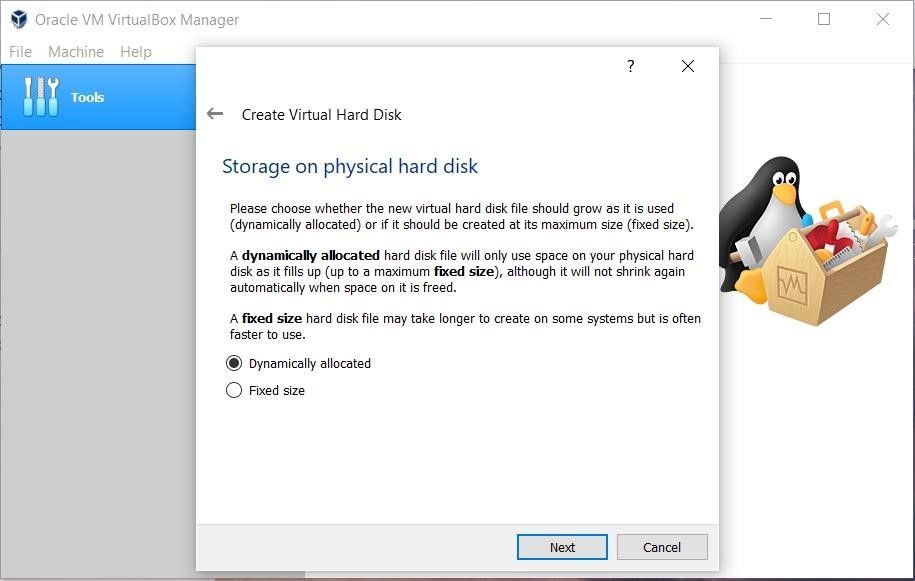
- Select the physical storage type. Either type can be selected. The use of a dynamically allocated disk is recommended by default
- Select the disk size and specify the destination folder for the installation.

- Once the disk creation is complete, boot the virtual machine and start installing Ubuntu.
- If the installation disk is not automatically detected. Browse to the file location and select the ISO file for Ubuntu.
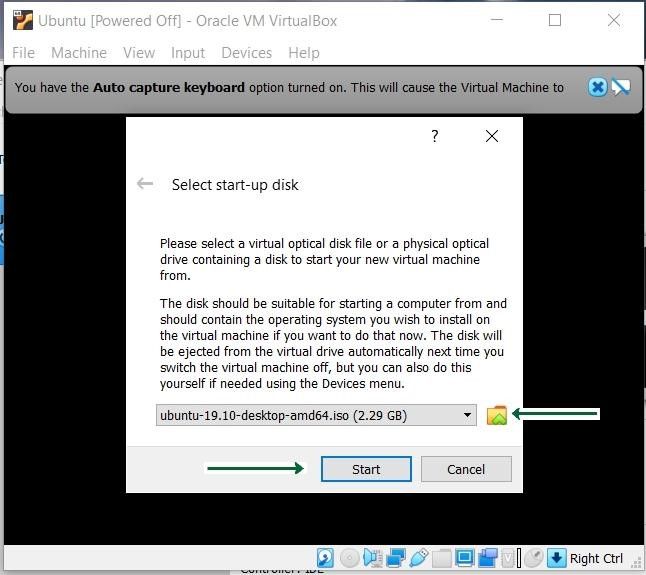
- Proceed to install the file and wait for the other options
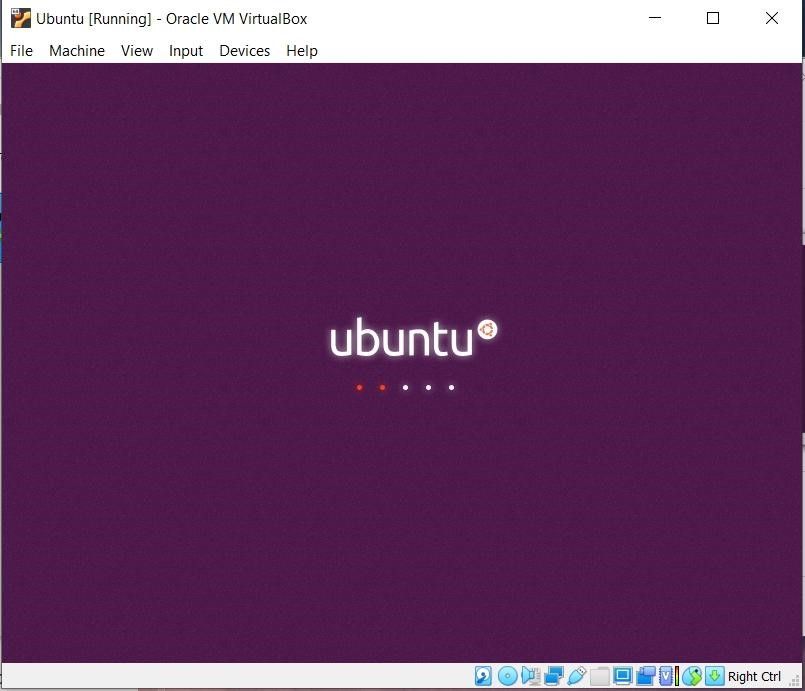
Ubuntu installation
- Click on the Install Ubuntu option, this may look different for other versions of Ubuntu.

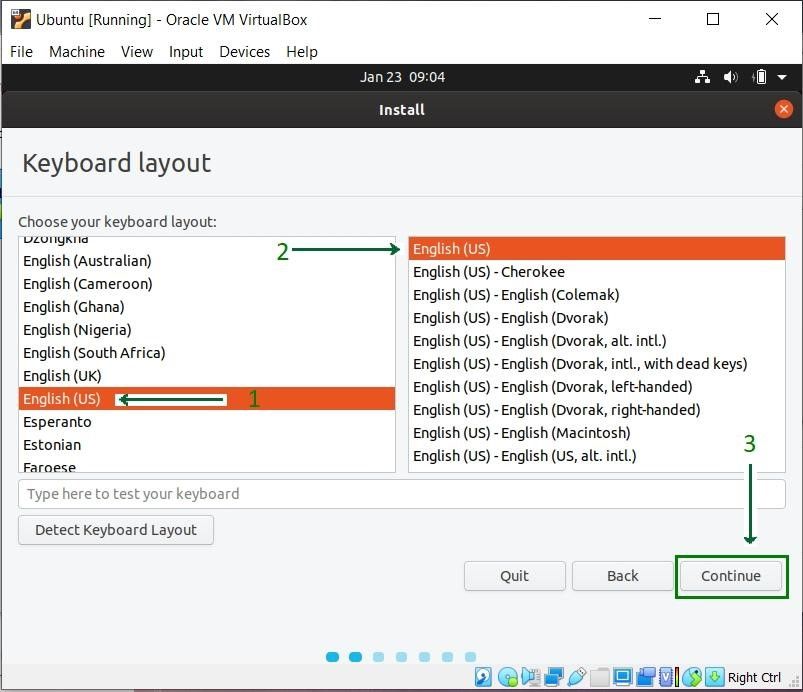
- Select the keyboard layout, if the defaults are compatible, simply click the “Continue” button.
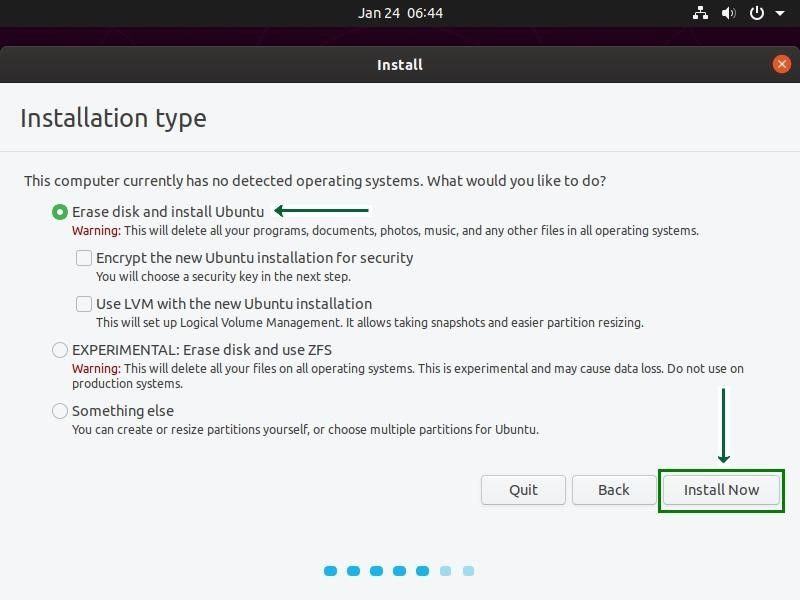
- Select the type of installation. By default this is the normal installation, which is recommended, but you can also choose the minimal installation if you do not need all the features of Ubuntu.

- Click on the Install Now button and proceed with the installation. Don’t worry about the Erase Disk option, it will only be effective inside the virtual machine, other system files outside the VirtualBox remain intact
Click the Continue button and proceed to write the changes to the disk.
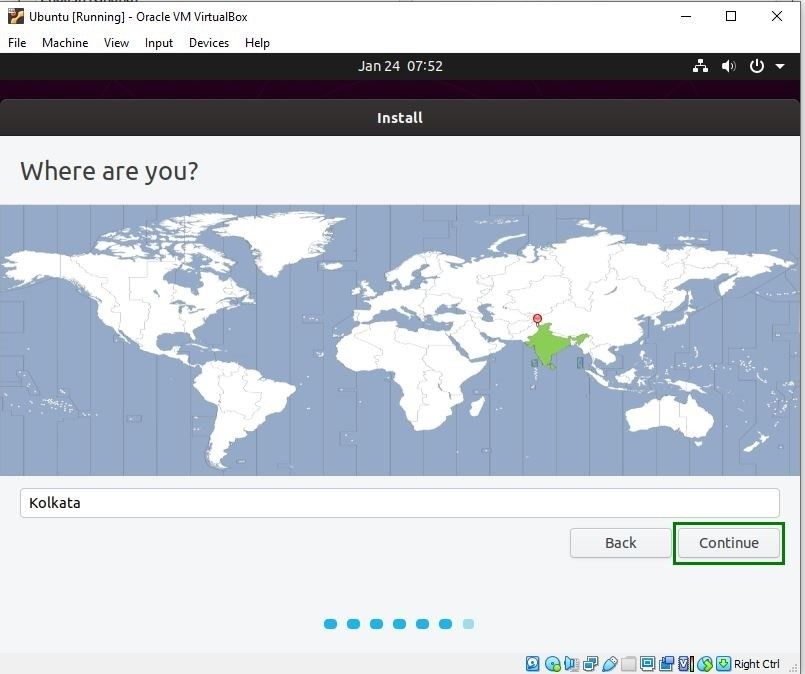
Select your location to set the time zone.
- Choose a name for your computer and set a password to secure the login information.

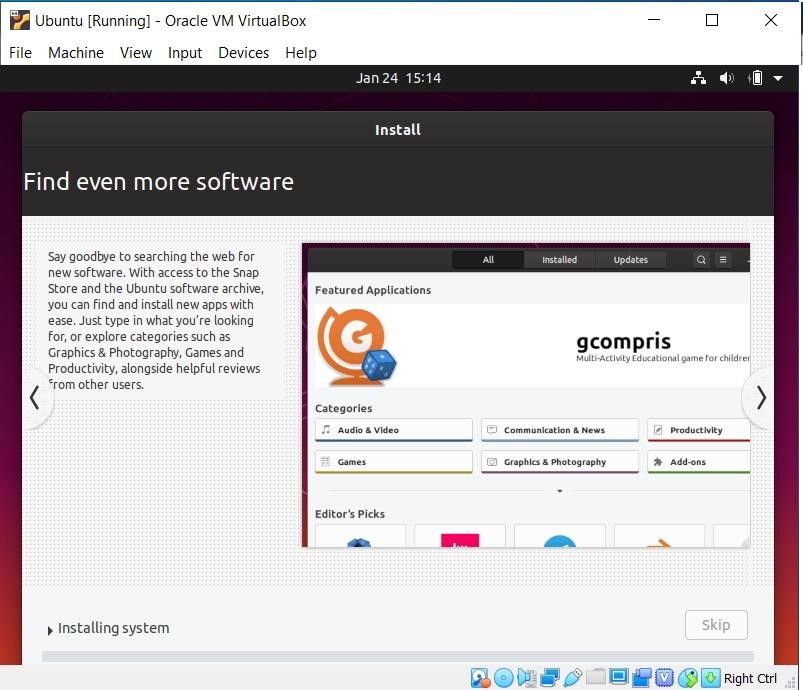
- Wait until the installation process is complete.
- Once the installation process is complete, restart your virtual machine.
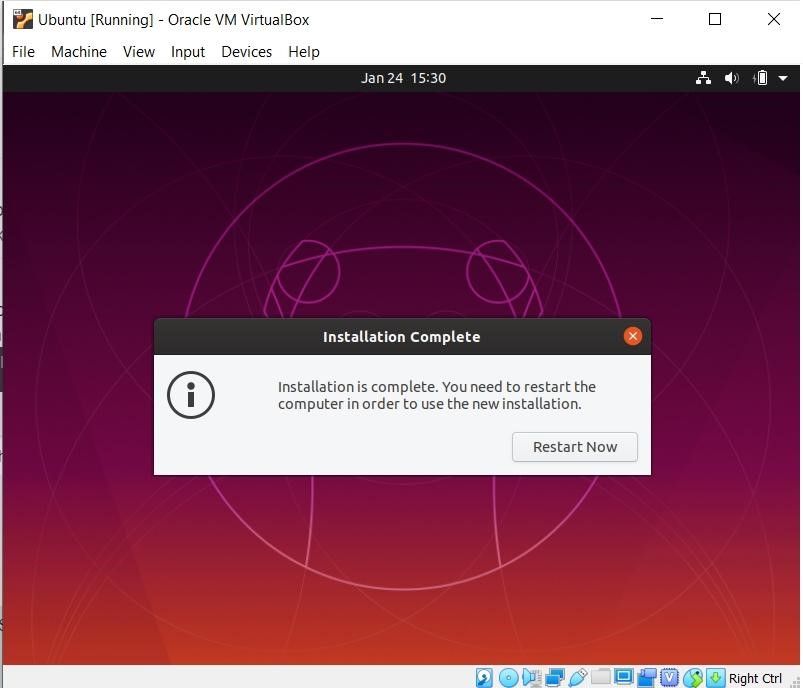
- That’s it! You have completed the installation process. You can now use Ubuntu at the same time as Windows, without creating a dual boot.
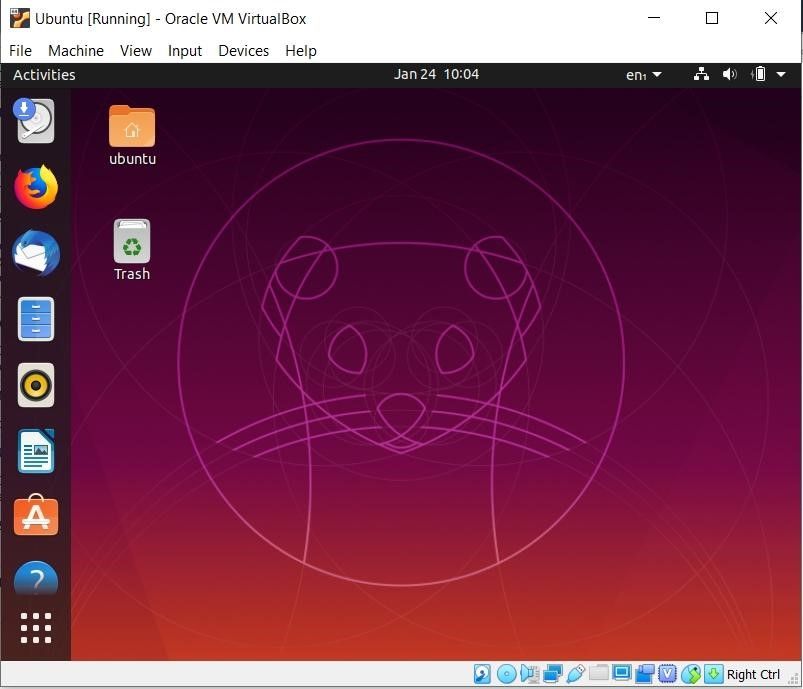
The installation of Ubuntu under VirtualBox has been successfully completed. It is now ready for your use. VirtualBox is free and is an excellent tool for running multiple operating systems on a single system. Ubuntu, on the other hand, has many advantages. If you are new to Linux products, we recommend Ubuntu as it is beginner friendly.
Also discover :
- Why and How to use two VPN’s on the same device
- How to create your own free online TV channel- Web TV
Share this content:


Leave a Reply