How to install Windows 10 or 11 on Steam Deck
What to know before installing Windows on your Steam Deck
A recent update now allows Windows to be installed in Steam Deck consoles. It gives them more utility because they become a real work tool, rather than a simple game console.
That said, you need to stay focused during the process. It is not difficult, but it requires a lot of concentration.
Basically, the installation steps basically consist of:
- Get an SD card and an SD card reader
- Copy Windows ISO file to SD card using Rufus program
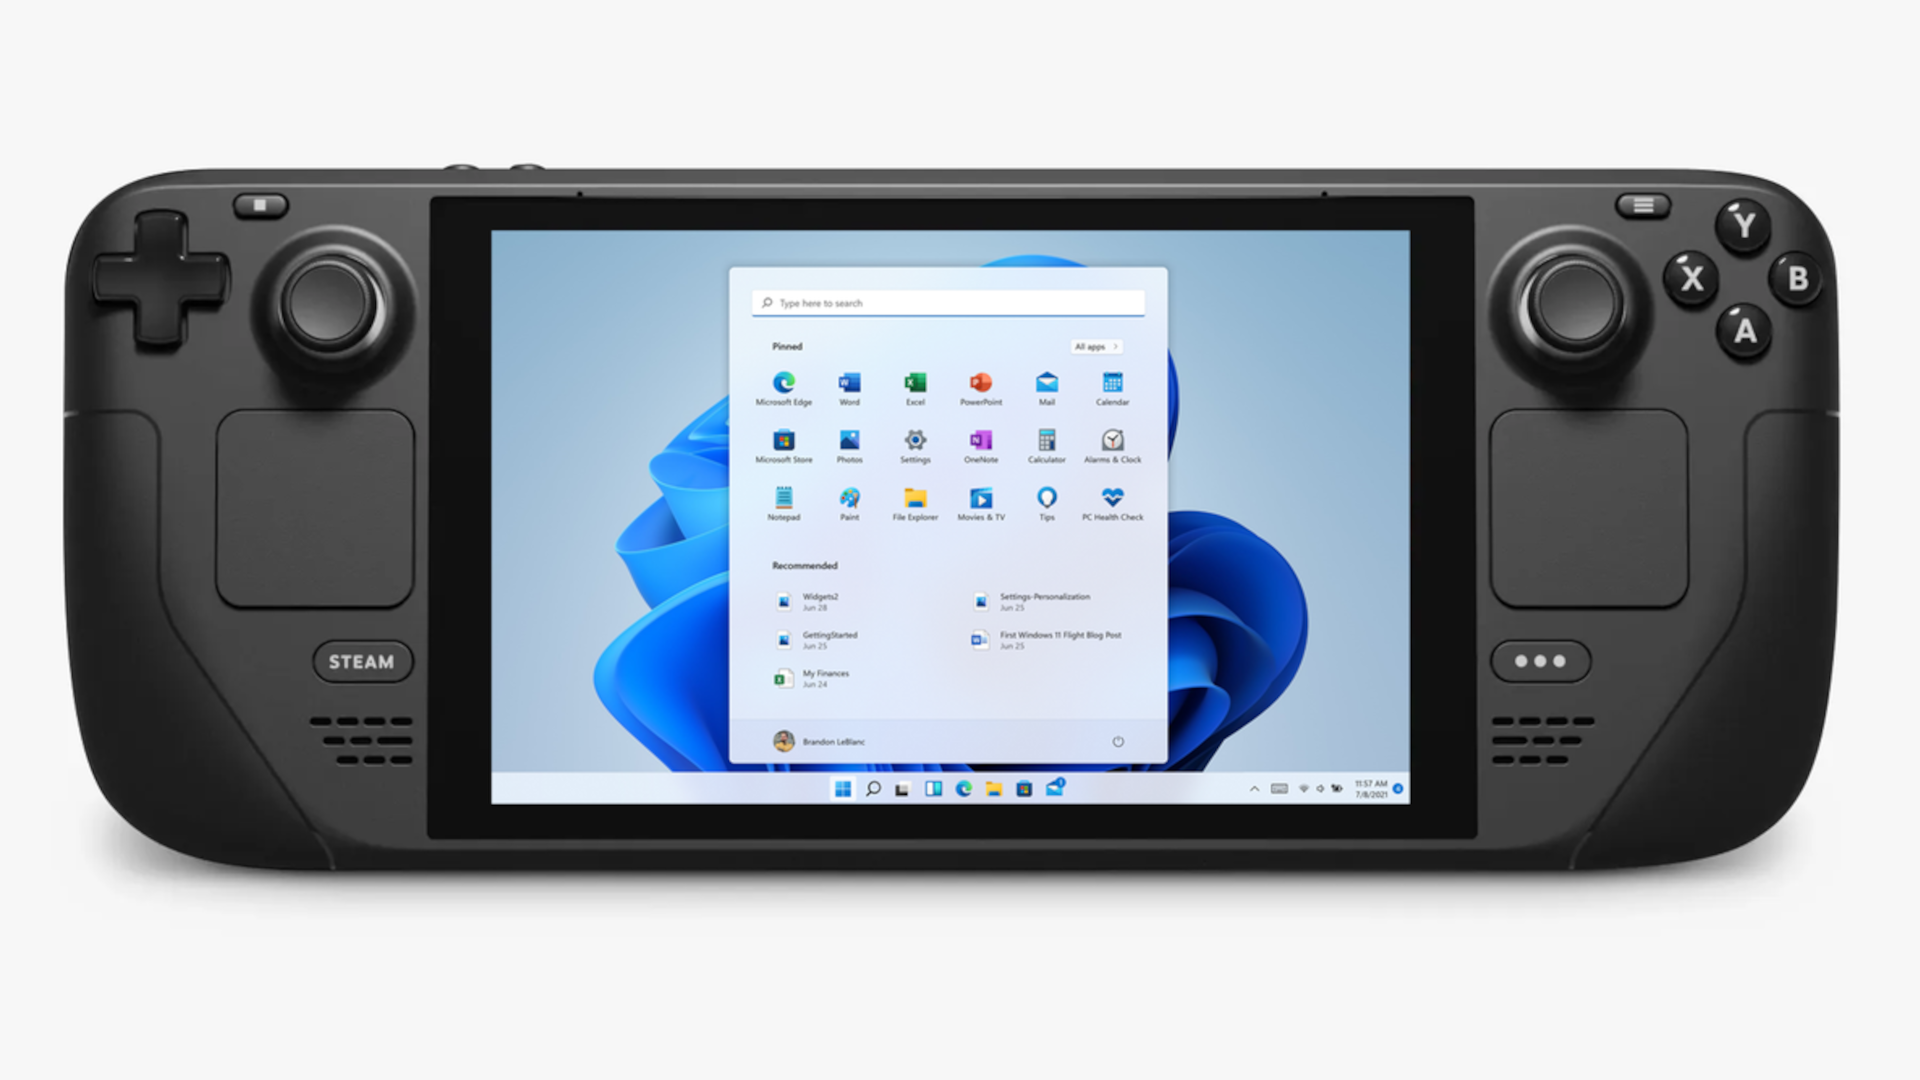
- Start Windows from your Steam Deck
| steam deck | |
 | 659.00$ |
 | 555,73€ |
The steps to follow to install Windows 10 or 11 on Steam Deck
1. Start by downloading the copy of Windows that you are going to install on Steam. Since Windows 10 is more stable than Windows 11, it is better to install it. But if you’re the type who loves new experiences, go for Windows 11 straight away. On the download page, choose to save the Windows ISO file to your computer, not your SD card.
2. Then download a small program called Rufus. It will help you create a bootable SD card. That is, Rufus will copy your Windows file to your SD card.

3. Then go to the Steam site and download some drivers to run all this hardware. There you will find drivers for SD card reader, GPU, Wi-Fi and Bluetooth. Download them all.
4. Now connect to your SD card on your computer using the card reader. Open Rufus and select your SD card as the Windows system receiving device.
5. Then select the Windows ISO file that you downloaded earlier.

6. Click on the “Image Option” menu and choose “Windows To Go”.
7. Under “Choose partition scheme”, MBR.
8. Now open “advanced drive properties” and click on “Use Rufus MBR with BIOS ID” option. Click on “Start” so that Rufus starts the copy of Windows on your SD card. Once it’s done, disconnect your SD card from your computer.
9. Take your Steam Deck console and turn it off completely.
10. Connect your SD card to the bottom of your Steam Deck.
11. Press and hold the volume and power buttons on the Steam Deck to open the “Boot Manager” menu which will take a few seconds to appear.

12. Once the “Boot Manager” menu appears, navigate with the console keys and choose your SD card. The Windows installation will then start automatically.
13. If the Steam logo changes to portrait mode don’t panic, it’s a sign that Windows is installing normally. You will only have to follow the steps normally as you would during a banal installation on a PC.
How to reinstall all drivers on Steam Deck after installing Windows
1. Press the left trigger button and choose “Display Settings”. Change portrait mode to landscape mode. You can also do this from the Windows Start menu.
2. Do you remember the drivers you downloaded from the Steam site and copied to your SD card? We are now going to the installer.
3. From file explorer, go to your SD card, unzip the drivers and install them.
4. Once the driver installation is complete, reboot your console and you should be able to enjoy your brand new system. Feel free to install other drivers if needed.
Finally, note that Windows on Steam Deck is a project that is just getting started. As such, some drivers such as those that manage sound are not yet available. But it won’t be long. Valve and Microsoft are working on it.
Get to know more about:
Share this content:


Leave a Reply