Solutions to common Oculus Quest 2 faults
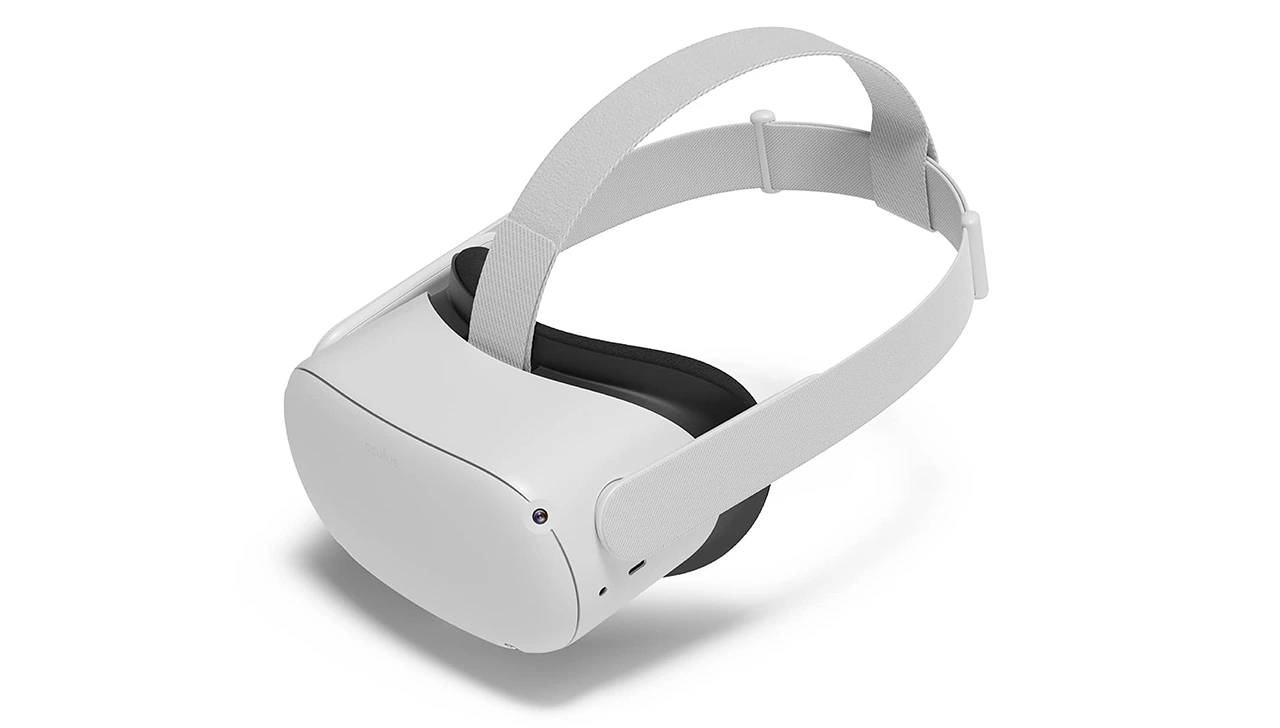
Recently renamed the Meta Quest 2, the Oculus Quest 2 is a virtual reality headset launched in 2020 by US company Meta Platforms. As with most hi-tech gadgets, it’s not always clear what the problem is when it happens. The aim of this article is to provide you with a handy guide of solutions for common Oculus Quest 2 faults.
Below you will equally find out how to take care of your Oculus Quest 2.
Common faults and basic troubleshooting
1. Common bugs and performance issues on the Oculus Quest 2
- If you are experiencing irregular performance or errors and ain’t sure what’s causing them, a complete reboot of the system will usually do the trick.
After a reboot your headset should return to optimal performance.
It’s not a matter of putting the Quest 2 to sleep; you should make sure to restart the headset completely via the power menu.
To do this, press and hold the power button and select Power Off or Restart.
| Meta Quest 2 — Advanced All-In-One Virtual Reality Headset — 128 GB | |
|---|---|
 | $399 |
2. Tracking and Guardian issues on the Oculus Quest 2
At times, the headset’s protection system can go haywire and act inconsistently. You may even experience bugs related to the loss of headset tracking. Here are some possible causes and common remedies for tracking and Guardian issues
- First, you should make sure that you use your headset in a well-lit indoor space, but not in direct sunlight. The Quest is not designed to operate in direct sunlight or outdoor conditions. So if you are indoors, close your blinds or curtains slightly to avoid direct sunlight while keeping the room well lit.
- Smudges and fingerprints on the Quest’s external tracking cameras could be a cause for concern. Occasionally wipe down the four cameras on each corner of the helmet with a microfiber cloth.
Mirrors and small lights, such as those on a Christmas tree, can also confuse and interfere with Quest tracking.
Facebook has released a software update to address this issue, but it’s still best not to use your Quest 2 around large mirrors and/or small lights if you have problems with tracking.
- If all of the above does not work, try a reboot, if it has not already been done.
3. Blurred or unclear visuals on the Oculus Quest 2
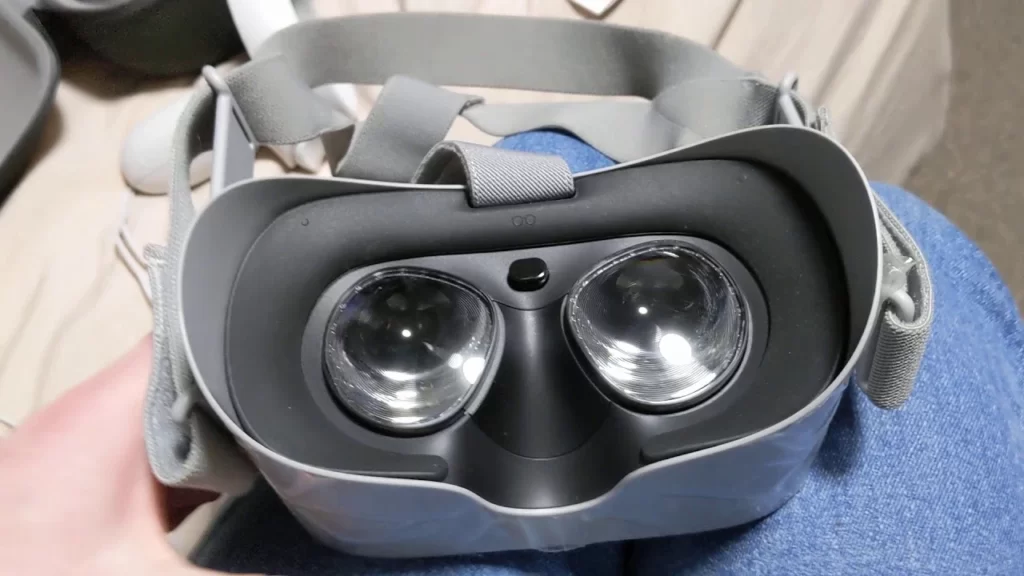
- If you find that the image on your Oculus is blurry or not quite sharp, you may want to adjust the IPD setting on the headset. This setting physically changes the distance the lenses are from each other in the headset. Eyes are different and the IPD setting helps adjust the lens for optimal eye distance from each other.
Three distances are preset by the IPD for the helmet. These can be adjusted by moving the lenses further apart or closer together.
The Quest 2 lenses lock into one of three available, visible slots marked 1, 2 or 3 between the lenses, one for each setting.
- If the image is still blurry or you still feel discomfort after the IPD adjustments, you should ensure that the Quest is worn correctly.
Although most people adjust the tension with the side straps, you can also adjust the top strap on both helmets for better accuracy.
4. Problems with the Oculus Quest 2 controllers
- If the Oculus cannot detect one of your controllers, you may need to change the AA battery, which is located under a cover on the front of the controller.
Also, the tracking quality of the controller can sometimes decrease as the battery becomes nearly depleted. You may need to replace the battery sooner if you start to notice that it is about to run down.
- If the batteries are not the problem but you are still experiencing inconsistencies, try one of the solutions listed above in Tracking and Protection Problems, particularly cleaning the external cameras or a full reboot of the headset.

5. Wi-Fi connection problems with the Oculus Quest 2
a) During initial setup
If you are unable to connect your headset to Wi-Fi during the initial setup, try the following steps to resolve the issue:
- In your phone/access point settings, disable and then re-enable Wi-Fi.
- A pairing code should appear in your headset, and you can continue the setup process using the Oculus mobile app. To do this:
- Open the Oculus app on your mobile device. If you don’t already have it, you can download it from the App Store or Google Play Store.
- Once the app is open on your mobile device, continue the setup process:
- Connect to Oculus with Facebook → Set up a VR profile → Adjust preferences and privacy settings → Create an Oculus Store PIN → Add payment information
- At this point, select Oculus Quest 2
- Your headset will automatically pair with the app. Otherwise you will need to provide the pairing code that was displayed to you while you were in VR.
- Once pairing is complete, tap on Controller or Headset Problem? and select the issue that concerns you.
- Complete the process in your Oculus application to resolve the issue.
- Reboot your headset
- Perform a factory reset of your Quest 2 as follows:
- Turn off the headset.
- Then, press and hold the power and volume (-) buttons simultaneously until the startup screen loads on your headset.
- Use the volume buttons to navigate to and highlight Factory Reset then press the power button and wait.
In case you have trouble turning your Quest 2 back on after the factory reset, hold down the power button for 30 seconds.
Please feel free to share your concerns with us in the comments.
b) In routine use
If you get an error or bug when trying to connect to Wi-Fi, try connecting your headset to another Wi-Fi network. However, this problem can be caused by a number of things, including a weak signal or an incorrect password.
You can change the Wi-Fi network your headset is connected to using the Oculus mobile app:
- Turn on your Quest 2 and open the Oculus app on your phone.
- Go to Devices in the bottom menu, then select the headset you are using.
- Under Wi-Fi, select the Wi-Fi network you want to connect to and enter the password, if required.
- Click Connect to Wi-Fi.
You can also do this directly from your headset:
- Press on
 your right touch controller to display your universal menu.
 - Hover the mouse cursor over the clock on the left side of the universal menu. You should see Quick Settings, select it to open the Quick Settings panel.
- From here, choose the Wi-Fi network you want to connect to and enter the password.
- Connect.
| Meta Quest 2 — Advanced All-In-One Virtual Reality Headset — 128 GB | |
|---|---|
| $399 |
How to maintain your Oculus Quest 2
1. Avoid sunlight
Remember that exposing the Quest 2 to direct sunlight poses a considerable risk of permanent damage. As a precaution, it is always best to store your headset in a closed case where there is no chance of sunlight hitting the lenses.
2. Avoid dust on the lenses
Similarly, if you store your Oculus outside a closed case, there is a risk that dust will settle on the lenses. The consequence would be that the lenses would be irreversibly scratched when cleaned, which would probably be noticeable when using the headset.
3. Use microfiber clothing for cleaning
You may be tempted to quickly clean your Quest lenses with your shirt or a sponge out of carelessness, but we strongly advise you to be careful. The smallest scratch on your lenses will look like a big scratch in VR, so be careful.
- Be sure to clean your Quest est lenses with a microfiber cloth. Even the alcohol wipes used for ordinary glasses should not be used for this purpose.*
We hope you find our tips useful, so please feel free to share this article or leave us a comment.
Also find out :
Share this content:


Leave a Reply