
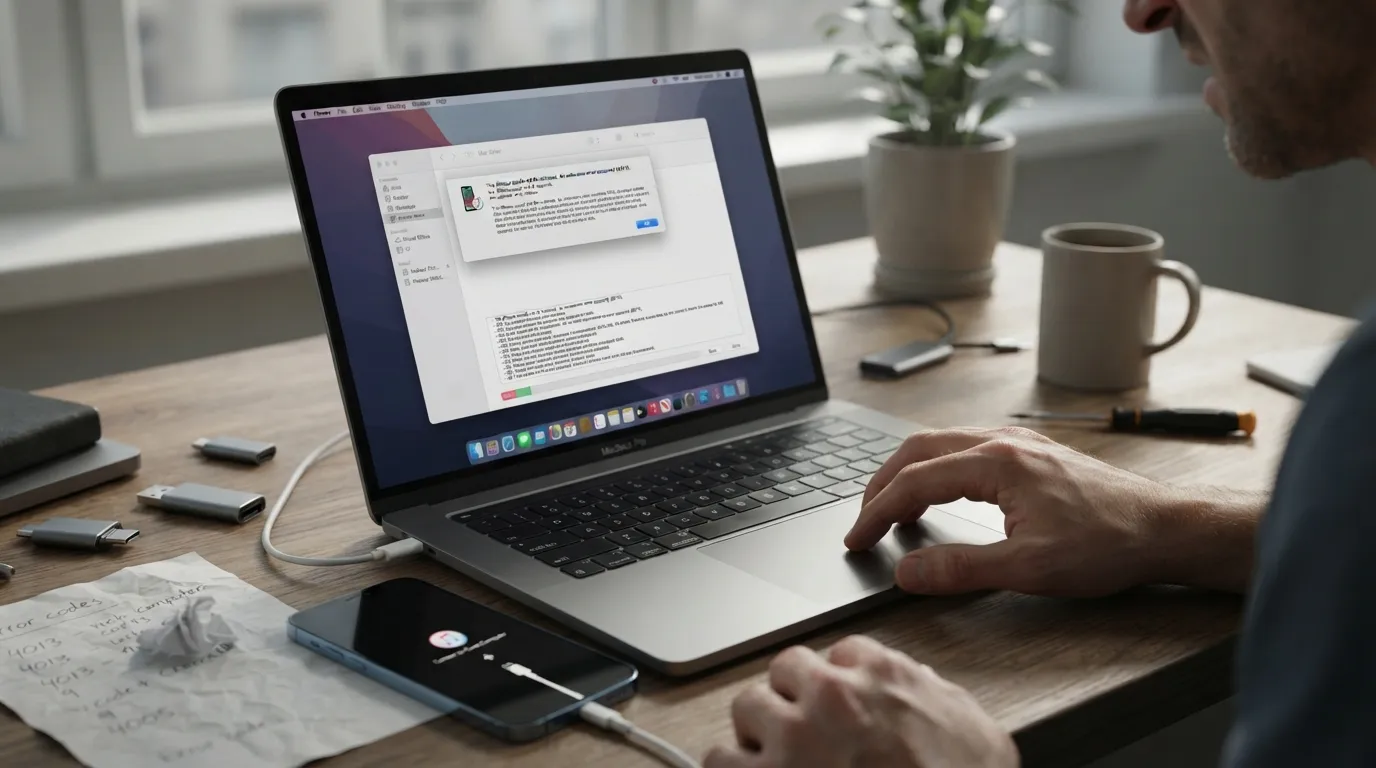
You try to update or restore your iPhone and an error message stops you cold: « An error occurred (4013), » a black screen with the iTunes logo, an iPhone frozen on the Apple logo, or code 9, 14, 3194, 1110… These errors, common during a major update like iOS 26, almost always have an identifiable cause — cable, connection, storage, Apple security — and a fix. This guide decodes the main error codes and gives you a step-by-step method, from the simplest move to recovery mode, to get your iPhone working again without losing your data when possible.
Who this guide is for: any user whose iPhone (or iPad) refuses to update or restore, shows an error code, stays stuck on the Apple logo or in a reboot loop.
Prerequisites: a computer (Windows or Mac) with the latest iTunes or Finder, a quality cable, a stable internet connection and about twenty minutes. A prior backup is strongly recommended.

Understand the error families in one minute
Behind the dozens of possible codes hide four main causes. Hardware errors (4013, 4014, 9, 4005, 40, 53) often point to a cable, USB port or unstable connection during transfer. Network errors (3004, 3194, 17, 1671) reflect a communication problem with Apple’s servers or a blocking config file. Security and version errors (1015, 3194, 1110) arise when trying to install an unsigned version or with a locked iPhone. Finally, storage or software errors (14, -34, 1101) signal a lack of space or a corrupted update file.
The good news: most are fixed with the same basic moves, applied in the right order. Always start with the simple solutions before recovery mode.
Step 1: the basic checks (do these first)
Before anything, rule out the obvious causes behind most errors.
- Update iTunes / macOS: an old software version causes many failures. On Mac, use an up-to-date Finder; on Windows, install the latest iTunes.
- Restart the iPhone and computer: a simple restart of both devices resolves a large number of hangs.
- Check the internet connection: an update interrupted by a Wi-Fi drop fails. Favor a wired connection or a stable Wi-Fi.
- Close other programs that might interfere (antivirus, VPN, security software) for the duration of the operation.
Tip: first try the update directly on the iPhone (Settings → General → Software Update) rather than via computer: it’s often simpler and avoids many cable-related error codes.
Step 2: fix the cable and USB port (cause #1 of errors 4013/9)
Errors 4013, 4014, 9 and 4005 are, in the vast majority of cases, due to a faulty physical connection during data transfer. The fix is simple but decisive.
- Use an Apple-certified (MFi) cable in good condition: a damaged or low-end cable cuts the transfer and triggers the error.
- Plug it directly into a computer USB port, not a hub or a keyboard port.
- Change USB port, and if possible computer, to rule out a hardware problem.
- Gently clean the iPhone’s charging port: dust and lint there often disrupt the connection.
A reliable cable is the most cost-effective investment to avoid these hangs, today and at the next updates.
- The certified Anker USB-C to Lightning / USB-C cable ensures a stable transfer and fast charging, with no cut-out during restore.
As an Amazon Associate, Wanda-techs earns from qualifying purchases. This affects neither our independent analysis nor the price you pay.
Step 3: free up space (errors 14, -34, « not enough storage »)
An update needs several gigabytes free. If the iPhone lacks space, installation fails, sometimes with error 14 or an explicit message.
On the iPhone, go to Settings → General → iPhone Storage and free up space: offload apps, delete large videos, clear corrupted update files (look for an « iOS Update » line you can delete to re-download it cleanly).
Good to know: updating via computer partly bypasses this constraint, since the file is handled on the computer’s disk rather than stored entirely on the iPhone.
Step 4: resolve network and server errors (3194, 3004, 17, 1671)
These codes indicate the iPhone can’t communicate properly with Apple’s servers.
- Check Apple’s server status: when a new iOS launches, the flood of users sometimes overwhelms the servers. Try again later.
- Hosts file (error 3194): on a computer, a modified
hostsfile (often from old tools) can redirect Apple requests. Reset it if you’re comfortable, or have it checked. - Antivirus / firewall / VPN: disable them temporarily, as they sometimes block the connection to update servers.
- Change network: try another Wi-Fi or a hotspot, to rule out a router or corporate firewall.
Warning: never follow a tutorial that asks you to install shady third-party software to « fix » error 3194; these tools are often useless or even dangerous.
Step 5: force restart (iPhone frozen on the Apple logo)
If the iPhone stays stuck on the Apple logo, in a loop, or on a black screen after an update, a force restart often unblocks it without losing anything.
- iPhone 8 and newer (including Face ID): briefly press volume up, then volume down, then hold the side button until the Apple logo.
- iPhone 7: hold volume down + side button.
- iPhone 6s and earlier: hold Home button + side button.
Release when the Apple logo appears. If the iPhone restarts normally, the incident is resolved.
Step 6: recovery mode
If the force restart isn’t enough, recovery mode lets the computer reinstall iOS without erasing your data. It’s the key step for most serious hangs.
1. Connect the iPhone to the computer and open the Finder (Mac) or iTunes (Windows).
2. Force a restart (Step 5) but hold the buttons until the recovery screen (the image of a cable pointing to a computer), instead of releasing at the Apple logo.
3. On the computer, a window offers « Update » or « Restore. » Choose « Update » first: iOS is reinstalled while keeping your data.
Tip: if the update from recovery mode exceeds 15 minutes, the iPhone may exit the mode; start over and relaunch « Update. »
Step 7: full restore (last resort)
If « Update » fails, there’s still « Restore, » which reinstalls iOS while erasing all content. Only do this with a recent backup, as data will be lost then restored from that backup.
In Finder/iTunes, in recovery mode, choose « Restore, » let the computer download and install iOS, then reconfigure the iPhone and restore your iCloud or local backup.
Warning: if the screen shows an activation lock (iCloud account), you’ll need to enter the original Apple ID. Without it, the iPhone stays locked: that’s an anti-theft protection, not a fault.
Step 8: DFU mode (when all else fails)
DFU mode (Device Firmware Update) is the deepest level of restore, useful for stubborn hardware errors (like some recurring 4013 errors) or a totally unresponsive iPhone. It reinstalls both firmware and iOS.
The key combination varies by model; follow a guide matching your iPhone precisely. In DFU, the screen stays completely black (unlike recovery mode, which shows an image). If a logo appears, start over.
Good to know: DFU mode erases the device. Reserve it for desperate cases, with a prior backup, and don’t hesitate to entrust the operation to an authorized center if you’re not comfortable.
Common error codes: the cheat sheet
- 4013 / 4014 / 9 / 4005: physical connection — change cable, port, computer (Step 2).
- 14 / -34: space or corrupted file — free up room, delete the update file (Step 3).
- 3194 / 3004 / 17: server communication — hosts file, antivirus, network (Step 4).
- 1015 / 1110: unsigned version or locked iPhone — install only official signed versions.
- 53: often linked to a Touch ID component replaced outside the official channel; head to an authorized center.
- iPhone disabled / locked: see our dedicated guide on [PC stuck in recovery mode after an update](internal link to a Wanda-techs article on: « PC stuck in recovery mode after an update »).
Special cases: dead iPhone, stuck at setup or in a loop
Some situations deserve specific handling. If the iPhone won’t turn on at all after an interrupted update, plug it into power for at least 30 minutes (a too-weak battery sometimes prevents startup), then try a force restart (Step 5). A total lack of response, even on power, points to recovery mode (Step 6) or even a trip to an authorized center.
If the iPhone reboots in a loop without ever reaching the home screen, the update left the system in an unstable state: recovery mode with « Update » is the safest answer. If the iPhone freezes during initial setup (after a restore), first check the internet connection and the status of Apple’s activation servers, often saturated on launch days.
Finally, for assisted diagnosis, Apple offers an official tool, Apple Support / Apple Devices, which guides updating and restoring and detects some problems automatically. It’s a handy alternative to iTunes for less confident users.
Good to know: note the exact error code before each attempt. Two different codes for the same symptom don’t call for the same fix, and writing it down keeps you from going in circles.
Prepare an update well to avoid errors
Most of these hangs are avoided with a little preparation. Before each major iOS update, back up first (iCloud or computer): you’ll be able to restore everything calmly if something goes wrong. Make sure you have at least 10 GB free and a battery charged above 50%, or the iPhone plugged in. Choose a time when your connection is stable, ideally wired Wi-Fi, and avoid the first hours after a major version’s release: Apple’s servers are then saturated and network errors multiply.
Also keep a certified cable and an up-to-date computer within reach: if the direct update fails, you can switch to recovery mode without stress. Finally, wait a few days after a .0 release; the fixes (.1, .2) that follow often correct the first days’ installation bugs.
Tip: note your Apple ID and password before any restore. The activation lock will ask for them, and not having them at hand turns a simple restore into a complete lockout.
Frequently asked questions
Will I lose my data? Not with « Update » (Step 6), which keeps everything. « Restore » (Step 7) and DFU (Step 8) erase the iPhone: hence the importance of a backup.
Why does the error keep coming back? Most often because of the cable or USB port (Step 2). Test another certified cable and another port first.
Can I update without a computer? Yes, directly in Settings → General → Software Update, provided you have enough space and a good connection.
The iPhone has been stuck on the Apple logo for an hour, what should I do? Force a restart (Step 5); if nothing, go through recovery mode and « Update » (Step 6).
Do I need an iCloud account to restore? You’ll need it to clear the activation lock after restore; keep your Apple ID and password handy.
In summary
Facing an iOS update or restore error, go in order: basic checks and updating iTunes (Step 1), cable and USB port for errors 4013/9 (Step 2), free space for error 14 (Step 3), network and servers for 3194/3004 (Step 4). If the iPhone is frozen, force a restart (Step 5), then move to recovery mode, choosing « Update » first (Step 6) to preserve your data. As a last resort, restore (Step 7) or use DFU (Step 8). A good cable alone fixes the majority of cases.
Which error code blocked you, and how did you solve it? Share it in the comments on Wanda-techs.com.
Share this content: