How to change the date format on Windows

Personalising your Windows operating system is essential for an optimal user experience. Among the many customisation options, changing the date format can make your computer more user-friendly. In this article, we explore step-by-step how to change the date format on Windows.
Why Change the Date Format?
Before we dive into the process, let’s understand the importance of customising the date format. By adapting the way the date is displayed, you can make the interface more in line with your regional or personal preferences.
Steps for Modifying the Date Format on Windows :
1. Go to Settings :
Click on the “Start” button in the bottom left-hand corner of your screen.
Select “Settings” (represented by a gear icon) to open the settings menu.
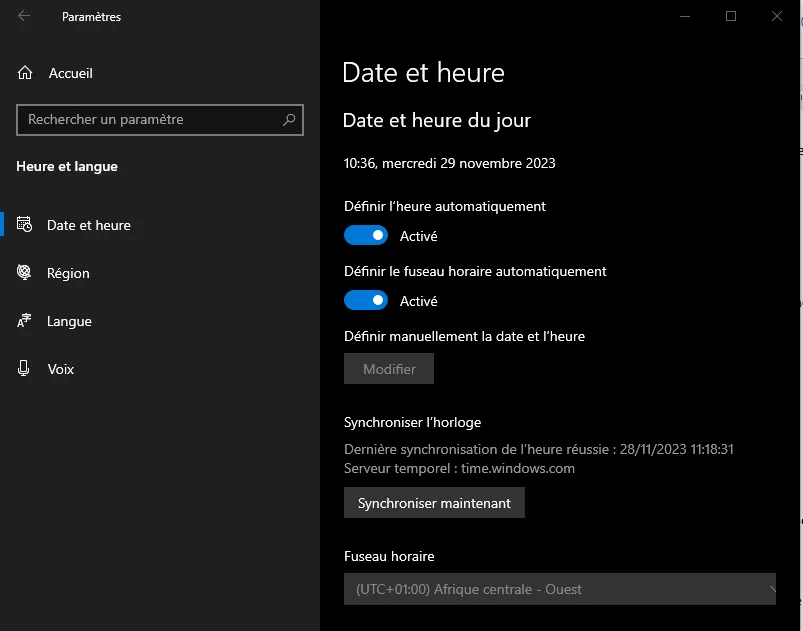
2. Open the Time and Language Settings :
From the settings menu, select “Time and Language”.
Under this section, select “Date and Time”.
3. Choose the Date Format:
You will find an option called “Date Format”; click on it to open the drop-down menu.
Select the date format that suits your preferences. Windows offers a variety of formats, including day/month/year, month/day/year, etc.
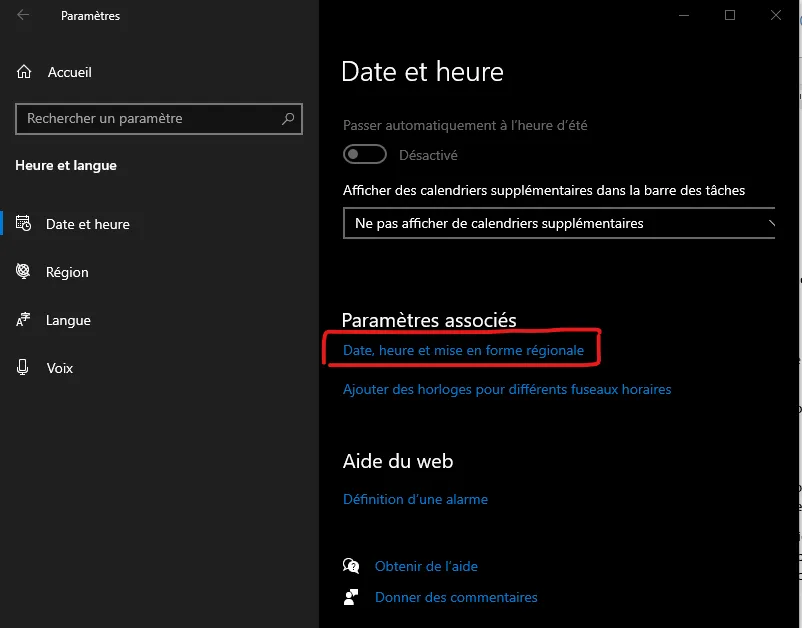
4. Additional Options :
For more advanced customisation, click on “Additional date and time settings” located under the date format menu.
Here you can adjust other settings such as the first day of the week or whether the time is displayed in 12 or 24 hour format.
5. Save changes :
Once you have chosen your date format and made any desired changes, make sure you save your settings by clicking “Save”.
Changing the date format on Windows is a simple procedure that can significantly improve your day-to-day computing experience. By adapting the way dates are displayed, you can customise your system to suit your individual preferences. These simple adjustments contribute to a more user-friendly and personalised user interface. By the way :
Share this content:


Leave a Reply