
In the previous article called Installing and configuring Pfsense (1/2), we presented the basic installation steps. The result of the Pfsense distribution was a console interface with a 16-action menu. The configuration ended with addressing the LAN interface of the firewall to access it via the web. In this article, we will see the basic configurations that are essential to get started with the firewall.
Pfsense Web Interface
The access to your firewall from the local network will be done on a machine of the same network. In our case, it is the Windows 10 VM from which we will enter the IP address of the Pfsense LAN interface.
Nb: If you have left the HTTPS protocol, you will get a certificate error which is quite normal. The browser will warn you that there is a problem but nothing prevents you from continuing your browsing (method varies depending on the browser) to access pfsense.
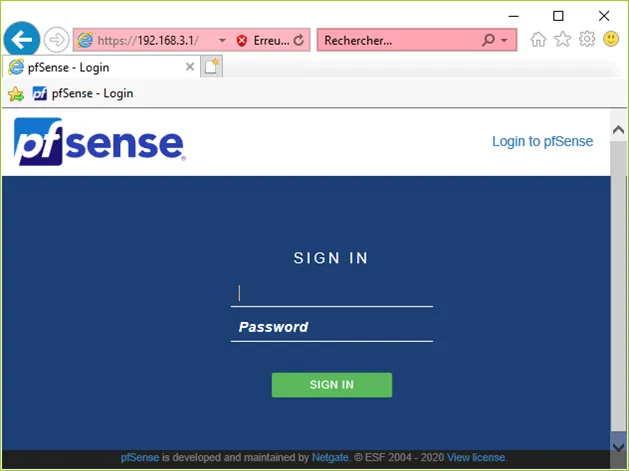
The default credentials for pfsense are as follows:
- Login: admin
- Password: pfsense
You arrive on the pfsense configuration wizard which will allow us to finalize the installation of our firewall. Click on the “Next” button.
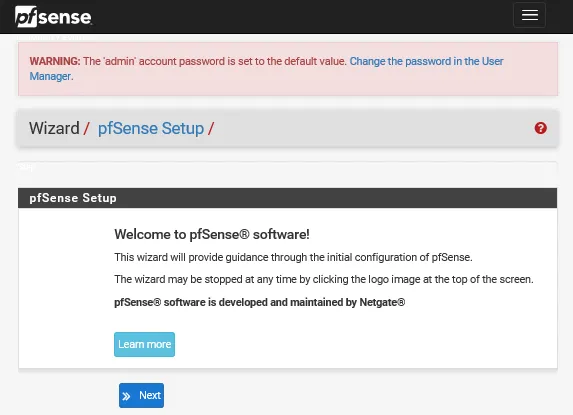
The wizard informs us that it is possible to have technical support provided that we subscribe to a contract (a bit of advertising for the paid solution by the way ). Click again on Next.
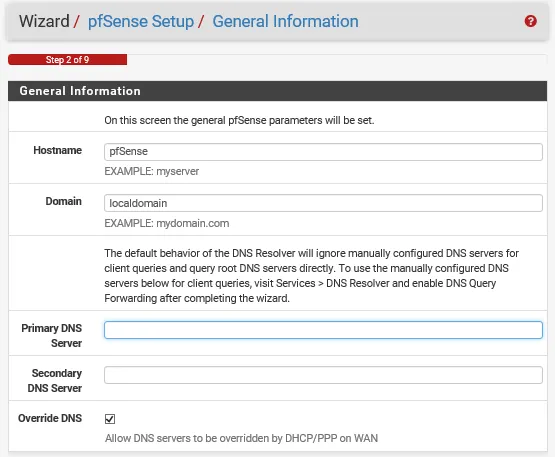
In the general information section, you can change the name of the firewall and declare your domain name if you have one in your network. Here also you can declare a local DNS server. I do not change any fields here.
| Norton Secure VPN 2023 for up to 5 Devices | |
 | 19,99 $ |
WAN interface setup
The next step asks you to choose a time zone for the timestamp of your solution, you have the choice in the dropdown list. Then we come to the configuration of the WAN interface. This is configured automatically by DHCP so I won’t touch anything at the top of this page.
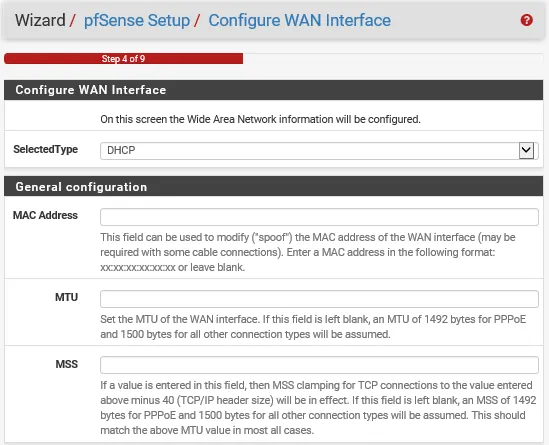
If you need to assign a fixed IP to this interface, this is where it is set. So you will need to change the configuration type from ‘DHCP’ to ‘static’.
The << PPPoE setup >> part is usually where you put the IDs provided by your ISP. These are the identifiers that are currently set in your internet box. If you wish to install a firewall instead of the box, it will be necessary to fill in this part.
The next part << PPPoE setup >> will be used to set up a point-to-point VPN (Point-to-point tunnel protocol, to be avoided as it is not very secure, prefer its little brother IPSEC).
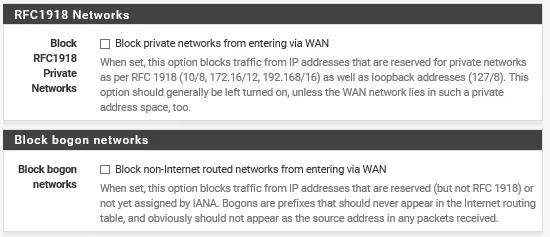
The last two options define that all traffic on the WAN interface coming from a private network address class is blocked. As my infrastructure here is virtual, I will necessarily have private networks communicating. I am not really using a public address. It is therefore necessary in the context of a lab to uncheck these 2 boxes. If you don’t, you can have little problems.
So we haven’t changed anything special on our WAN interface here, you can continue.
Setting up the LAN interface
The pfsense wizard now switches to the LAN side interface. Here you can change the IP address of the pfSense LAN interface (we already did this before).

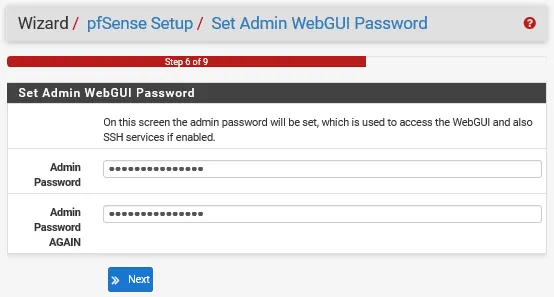
During the configuration phase it is also necessary to change the default credentials of the pfsense admin account
The final phase of the pfsense installation is complete. Click on Reload to reload pfsense. At the next window, you can simply click on the Finish button.
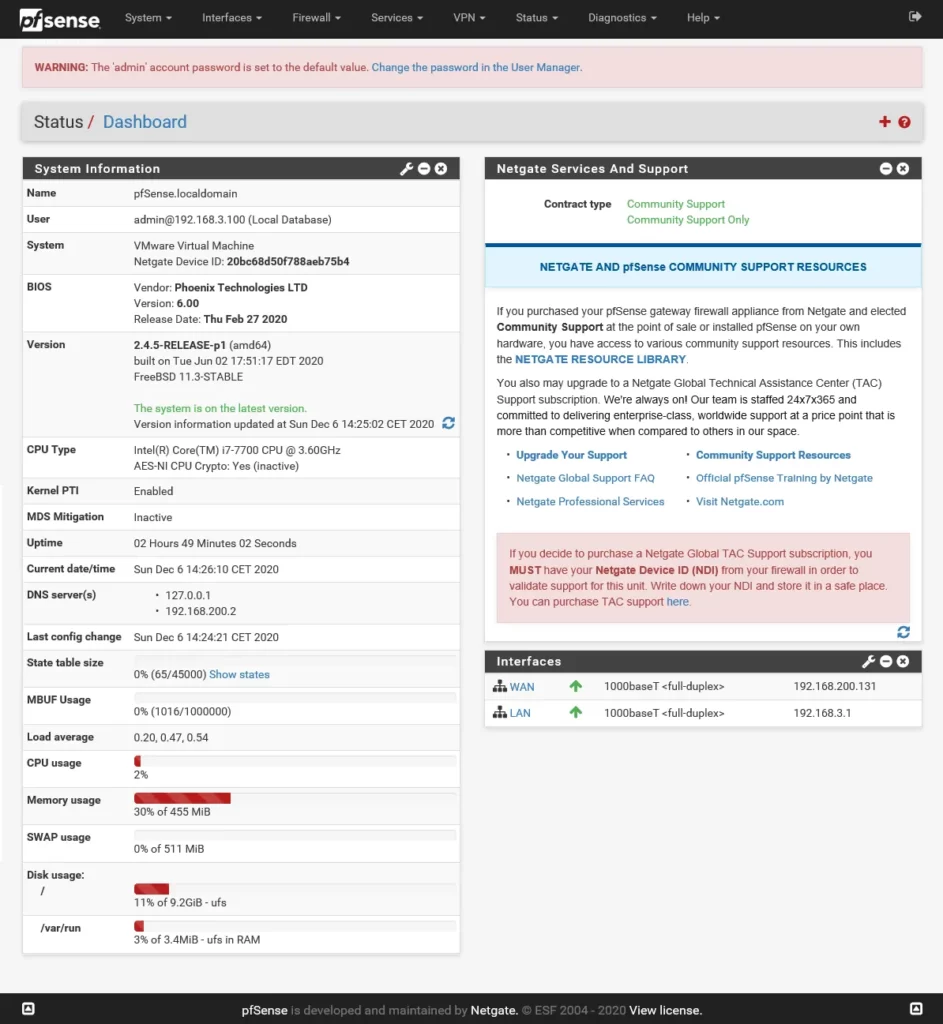
Pfsense dashboard
This brings you to the dashboard of your pfsense. Here you will find information on the use of the resources of the machine itself, its different IP addresses, its version and updates if necessary etc…
This view is customizable by clicking on the small + at the top right in the title bar.
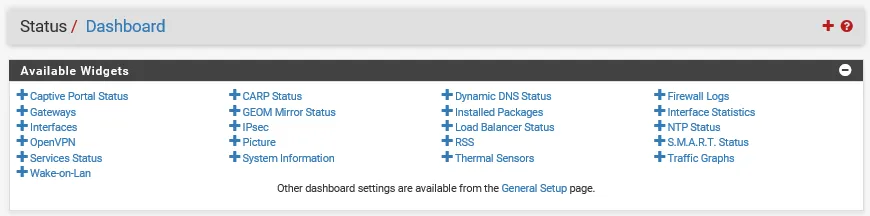
You can add graphs, load balancer info, traffic, logs, VPNs etc… The different menus will allow you to do all sorts of things on your firewall.
- Set up VPNs (IPSEC, OpenVPN…)
- Activate services (DHCP, DNS, NLB, NTP, WOL…)
- Do NAT and port forwarding
- Add routes
- Define rules for incoming/outgoing traffic
- Monitor precisely this same traffic
- Add plugins that will bring other functionalities (Squidguard filtering for example)
- …
NB: To change the language of pfsense, go to the System and General Setup menu.
By default, all traffic is open when installed. This can be seen in the “Firewall” menu, submenu “Rules” and part “LAN”.
The rules here define that all IPv4 and IPv6 traffic, any protocol, coming over the LAN Net on any port and to any destination is allowed.
Moreover, if you have correctly followed this tutorial and from the client PC you ping google.fr, the ping will be successful, proof that the traffic can go out without any intervention from you.
Find out :