How to install Windows on an Android phone?

In this article you will see how to install Windows on your Android phone or tablet, although there are tablets that come with Windows that you can buy. Have you ever thought that it is possible to install a Windows operating system in an Android device? It is possible, but with some risks. If you want to install Windows on an Android device, the most important thing you need to have is a high quality Android device. If your Android phone is old and not fast enough, Windows may shut down your Android device and you won’t be able to turn it back on.
This can happen when you install a higher version of the operating system on a lower version of the Android device.
| Norton Secure VPN 2023 for up to 5 Devices | |
 | 19,99 $ |
How to install Windows on your Android phone using Change My Software ?
Keep in mind that this application is unsupported third-party software and is not authorised by either Google or Microsoft. Also, your Android smartphone may not have the hardware specifications to run Windows, even with Change My Software. In other words, you download and use this program at your own risk.
That being said, here is how to install Windows on your Android phone or tablet with Change My Software.
1- Download Change My Software
First, you need to install the Change My Software application on your Windows PC. There are many versions of the application, each for a different version of the operating system (Windows XP, Windows 7, Windows 8, Windows 8.1 and Windows 10). You can download all versions in a single ZIP file.
2- Installing Change My Software
After installing Change My Software on your PC, here are the steps to install Windows on your Android device with this tool.
- Make sure your Windows PC has a high-speed internet connection
- Connect your Android tablet or phone to your Windows PC, via a USB cable
- Open your version of the Change My Software tool that you wish to use
- Select the Android option in Change My Software, then the language of your choice
- Once this is done, click “Install” to begin the process. Obviously, you must keep your device connected to your Windows PC throughout the process. If you want to dual boot between Windows and Android on your tablet once the process is complete, you should not check the “Remove Android” box in the Change My Software application
- Once Windows is installed on your Android device, it should boot directly to the Windows operating system or to the “Choose an operating system” screen if you have decided to make your tablet a dual-boot device. Then your version of Windows should start its own normal installation process
How to install Windows on your Android phone using Limbo PC Emulator ?
Step 1 : You must first download “Limbo PC Emulator” from the Play-Store. Once the download is successful, you then need to download Windows from the Internet. Only download versions that your Android device can handle. It is recommended that you have a capable Android device.
Step 2 : Open the file manager and go to download. You can see the downloaded windows. Select and copy the Windows version you downloaded, go back to “SD Cards” or any other directory where the “Limbo” folder is located and paste it. Once you have placed Windows in the Limbo folder, close the file manager
Step 3 : Now open the limbo application and tap on “Load Machine”, Create a new machine. Scroll down and select “hard drive A”, then tap on “Open”. Select the Windows version you previously downloaded and press ok. Make sure you leave everything as default. If you want to change your window settings, you can do so but make sure you only set up the “not configuration” theme
Step 4 : Once you have defined the settings and selected the windows. All you have to do is scroll up and tap the play button. Wait for the windows to load and then you can enter each one.
How to install Windows on Android without Root/Computer ?
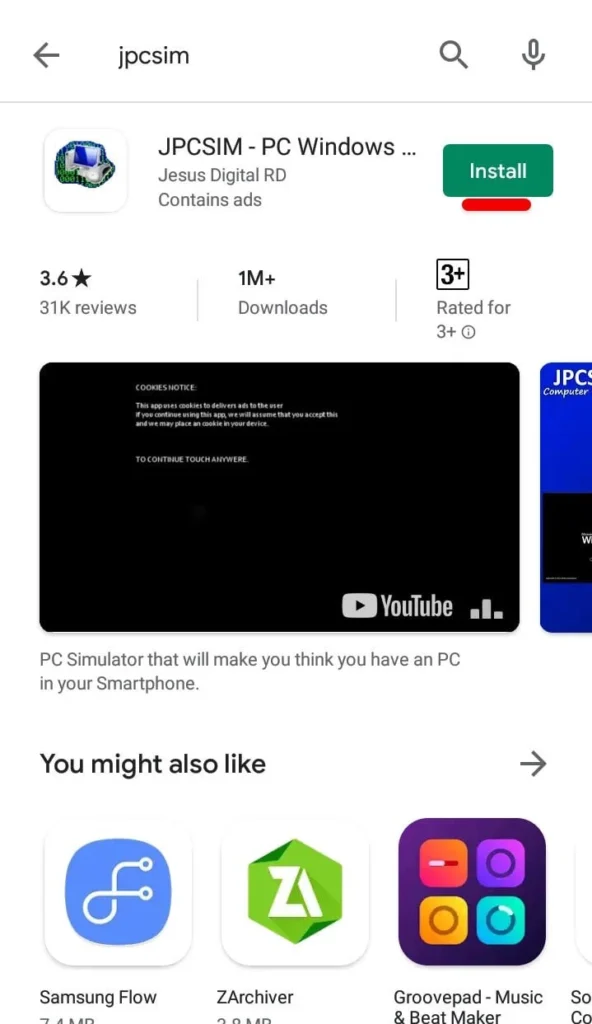
Step 1 : Install JPCSIM from the Play Store. The installation is quick and easy, just go to the Play Store, search for JPCSIM and click on Install
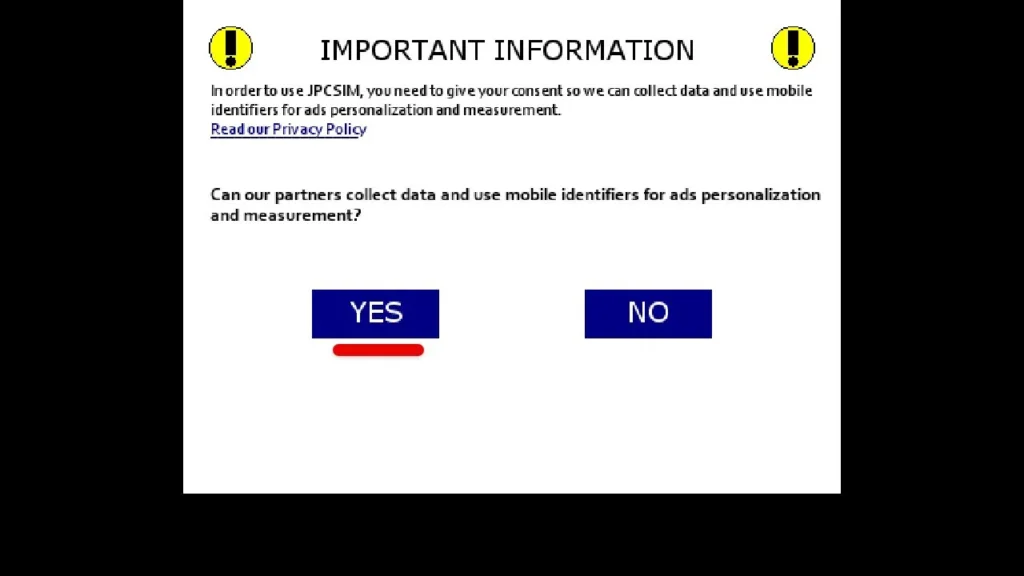
Step 2: Install Windows on your Android device. Go ahead and tap yes on the
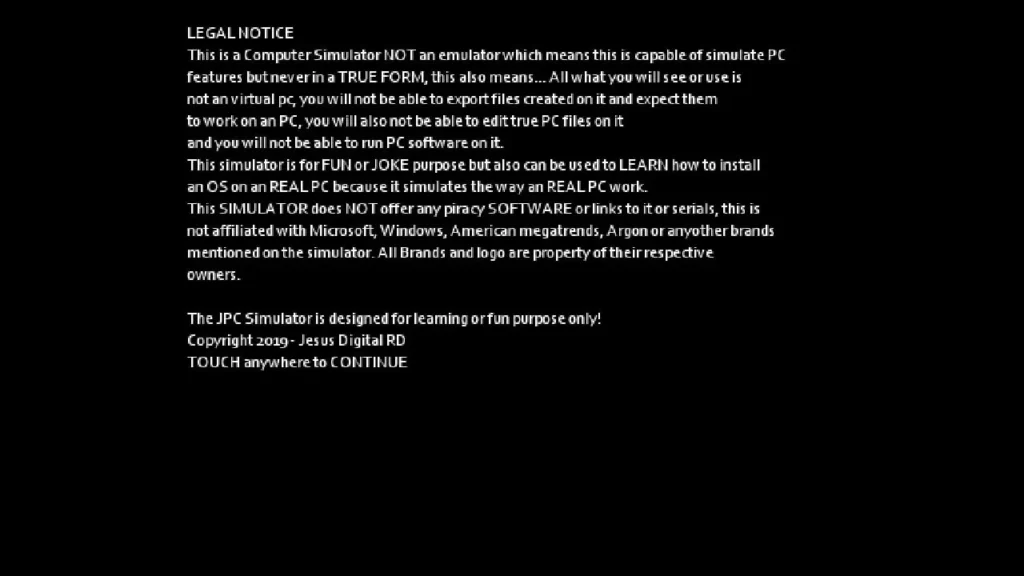
- Then tap anywhere on your screen to continue
- Now tap anywhere on the screen to continue

- In this step, change the Windows version by tapping on the side button, so when the desired Windows version appears, click on Start

- This will start loading your Windows version, which will take some time.

- Once this is complete, you will see Windows start up and then connect to the Android account so that it appears on the desktop. To get the mouse to work, simply click on the mouse icon first and then start moving the mouse.
Find out :
Share this content:


Leave a Reply