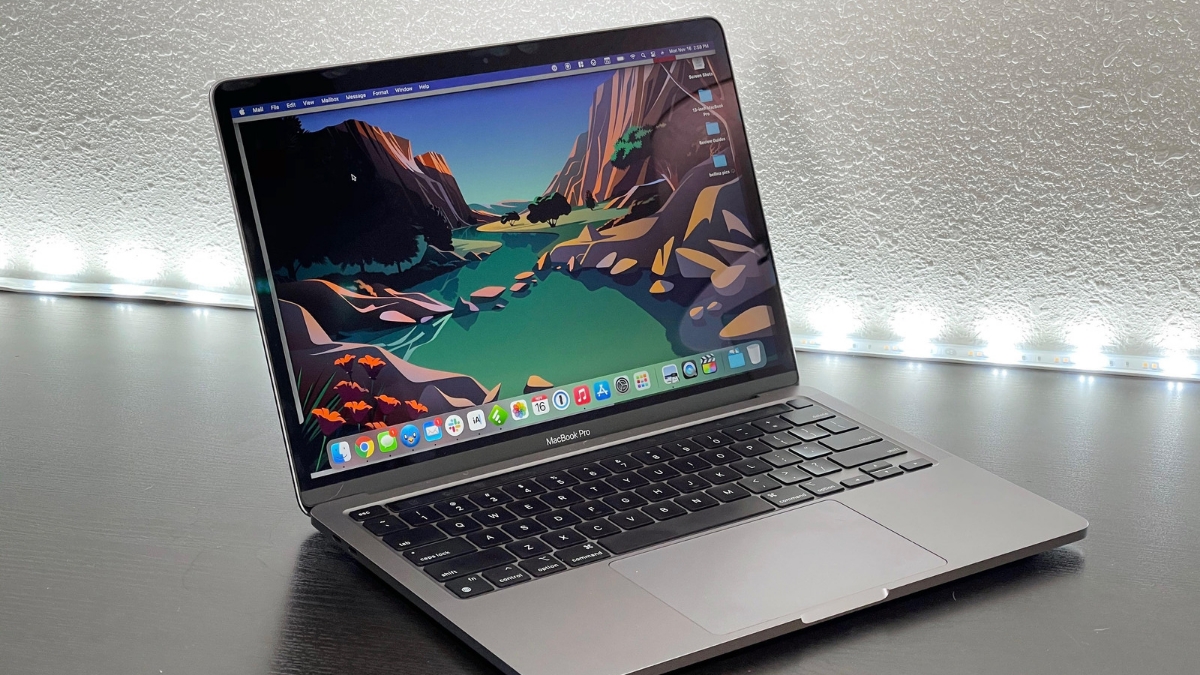
Complete guide to clearing the cache and freeing up space on your Mac

The cache on your Mac temporarily stores data to speed up application performance. However, over time, this cache can build up and affect your system’s overall performance. We’ll explore simple steps to clear the cache on your Mac, freeing up valuable space and improving performance.

Using Terminal to clear the cache :

  • Open Terminal on your Mac (you can find it in Applications > Utilities).
  • Type the command “sudo periodic daily weekly monthly” and press Enter.
  • This command will launch the system maintenance scripts, including cache cleaning.

Manual deletion of application caches :

  • Go to the “Library” folder in your user directory (use the “Go” function in the Finder while holding down the Option key to display Library).
  • Look for the “Caches” and “Logs” folders.
  • Delete any unnecessary files or specific application cache folders.

Using Cleaning Applications :

  • Third-party applications such as CleanMyMac, DaisyDisk, or Onyx can automate the process of cleaning cache and other temporary files.
  • Download and install a trusted application from the App Store or the official website.

Safari cache cleaning :

  • If you use the Safari browser, you can clear its built-in cache to improve performance.
  • Go to “Preferences” > “Privacy” > “Manage website data” and click on “Clear all”.

Emptying a browser’s cache (general case):

  • To clear your browser’s cache, open the Finder, then launch “Go to folder” using the shortcut Shift + Command + G.
  • Type ~/Library/Caches and press Enter.
  • Open the browser cache folders, select the files to be deleted and click “Delete”.

Empty user cache:

  • Open the Finder, click on the “Go” menu, then on “Go to folder”.
  • Enter ~/Library/Caches and press Enter to access the user cache.

Resetting NVRAM/PRAM:

  • Switch off your Mac, then switch it on again while holding down Command + Option + P + R until you hear the start-up sound twice.
  • This resets NVRAM/PRAM, which may solve some cache-related problems.

Clearing the cache on your Mac is an essential step in maintaining optimum performance. By following these simple steps, you can free up disk space, speed up application loading times, and improve your system’s overall responsiveness. Incorporate these practices into your maintenance routine to ensure a fast, efficient Mac. It’s important to note that deleting cache may sometimes be necessary to solve certain problems, but it should be done with caution, especially for system or application cache

Partager

Post Récent

How to Fix the Windows 11 Update Error

The Windows 11 update error can occur for several reasons, such as corrupted files, connectivity issues, or conflicts with third-party…

il y'a 5 months

How to resolve the error “You don’t currently have permission to access this folder” in Windows 10 and 11

The "You don’t currently have permission to access this folder" error often appears when you try to access a folder…

il y'a 5 months

How to Fix the Flutter Error ‘This version only understands SDK XML versions up to 3 but an SDK XML file of version 4 was encountered’

When developing Flutter applications, it's common to encounter errors related to SDK version compatibility. One of these common errors is…

il y'a 6 months

Windows cannot be installed on this disk: the hardware of this computer might not support booting from this disk

During the installation of Windows, you may encounter an error indicating that the selected disk is not compatible with the…

il y'a 7 months

Windows could not start the Windows Update service on the local computer

The error "Windows could not start the Windows Update service on the local computer" occurs when the operating system fails…

il y'a 7 months

The Missing Windows Update Service on Windows 10 or 11

The Windows Update Service is essential for keeping your system up to date with the latest security and performance improvements.…

il y'a 7 months