Complete guide: How to access a NAS from a Smart TV
Network Attached Storage (NAS) has become a popular storage solution for centralizing and sharing files across a home network. If you own a NAS and a Smart TV, you have the opportunity to merge these two technologies to easily access your multimedia content directly from your smart TV. In this article, we’ll guide you step-by-step on how to access a NAS from your Smart TV, opening the door to an optimal entertainment experience.
Method 1: Configure your Smart TV
Step 1: Make sure your Smart TV and NAS are connected to the same network
The first crucial step in accessing your NAS from your Smart TV is to ensure that they are connected to the same home network. Make sure your Smart TV is connected via Wi-Fi or Ethernet cable to the same router as your NAS. This will ensure smooth communication between the two devices.
Step 2: Configure network access for your NAS
Access your NAS management interface and make sure that file sharing over the network is enabled. You may need to create specific folders for your multimedia content, such as movies, photos and music, for optimal organization.
Step 3: Use the DLNA (Digital Living Network Alliance) protocol
Most Smart TVs support the DLNA protocol, which makes it easy to share media over a home network. Make sure your NAS is DLNA-compatible, and that the function is enabled. On your Smart TV, look for “Media sharing”, “Media server” or “DLNA” in the network settings.
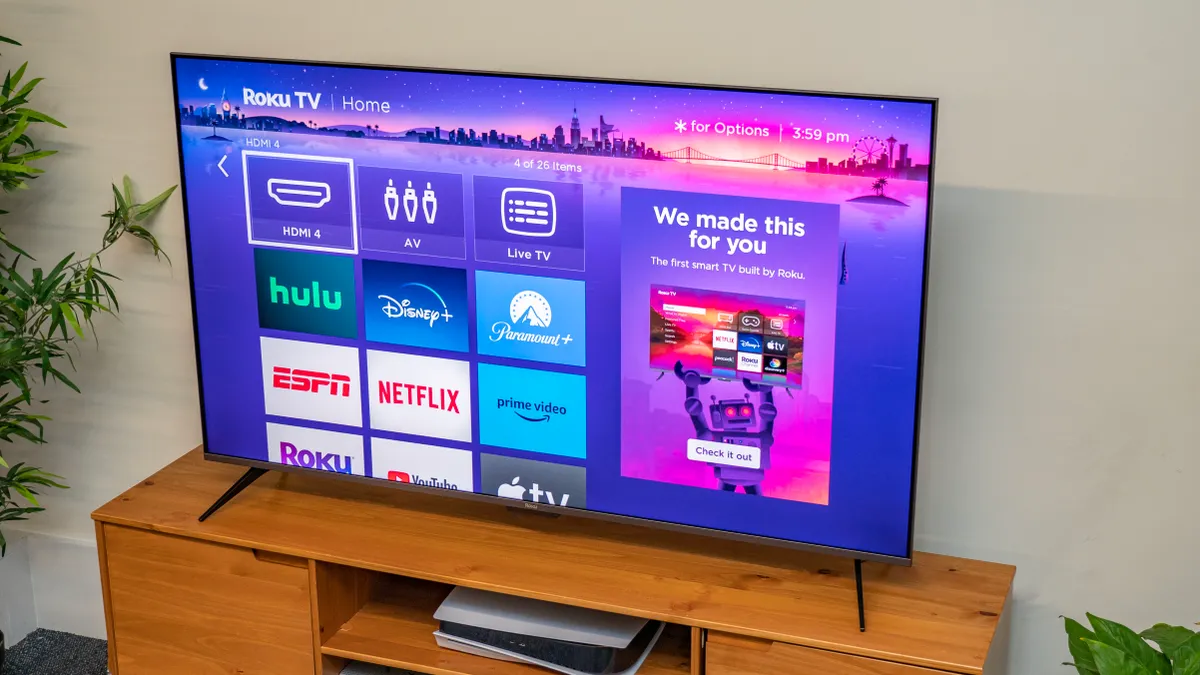
Step 4: Access your media content from your Smart TV
Once everything is set up, accessing your multimedia content from your Smart TV should be simple. Use your TV’s interface to navigate to the media option, where you should see your NAS listed as a media server. Explore the folders and enjoy your movies, photos and music directly on the big screen.

Method 2: Use Dedicated Applications
To access a NAS from a Smart TV, you can follow these steps, depending on your specific configuration:
- Install an application on the Smart TV: On some Smart TVs, you’ll need to install an application such as DS Video from the TV’s application store, such as the Play Store for Android TV or the Samsung Application Store for Samsung TVs.
- Configure the application on the Smart TV: Once the application has been installed, launch it and configure it to access your NAS. You’ll need to enter the NAS name or IP address, an authorized user name and the corresponding password.
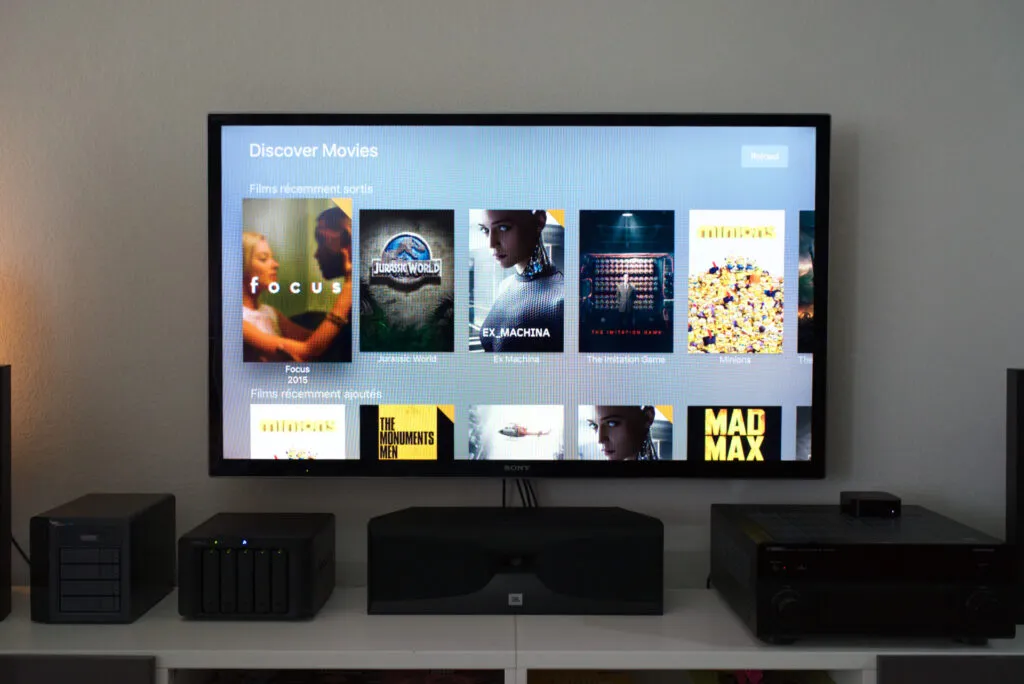
- Use a media server: Some NAS devices offer the option of installing a media server such as FileBrowser TV, Plex, Emby or Jellyfin. These media servers often offer their own applications for Smart TVs. You can also use stand-alone applications such as Kodi, with the appropriate plug-in.
- Check supported protocols: For TV access, check the protocols supported by your TV and NAS, such as DLNA or UPnP AV, and make sure they’re compatible.
By following these simple steps, you’ll be able to take full advantage of your NAS by accessing your multimedia content directly from your Smart TV. This integration offers a convenient solution for centralizing and enjoying your multimedia files, providing an immersive entertainment experience within your home.
Share this content:


Leave a Reply