How to Clone a Hard Disk to an SSD with Ease

Switching from a traditional hard drive to an SSD (Solid State Drive) can considerably improve your computer’s performance in terms of speed and responsiveness. However, the data migration process can seem daunting for many users. In this article, we’ll take you step-by-step through how to clone a hard drive to an SSD, allowing you to enjoy the benefits of faster storage without losing your precious data.
Why clone a hard drive to an SSD?
Let’s explore the advantages of an SSD over a traditional hard drive. This section explains why cloning is an attractive option for migrating to an SSD.
How to Clone a Hard Disk to an SSD easily
Cloning a hard drive to an SSD is a relatively simple operation if you follow the correct steps. Here’s a detailed guide to help you successfully clone your data:
Hardware requirements :
Source hard disk drive (HDD)
Destination SSD
SATA and power cables
Cloning software (e.g. AOMEI Backupper, EaseUS Todo Backup, Clonezilla)
Cloning steps :
Step1: Preparation before cloning
Before starting the cloning process, it’s essential to prepare properly. Make sure the SSD has a storage capacity equal to or greater than that of the source hard drive. Back up all important data from the source hard drive just in case.
Step 2: Connect the SSD
Connect the SSD to your computer using the SATA and power cables. Make sure it is correctly detected by the operating system.
Step 3: Selecting the cloning software
Download and install disk cloning software. In this example, we will use AOMEI Backupper.
Step 4: Launch the software
Open AOMEI Backupper and select the “Clone” option in the main menu.
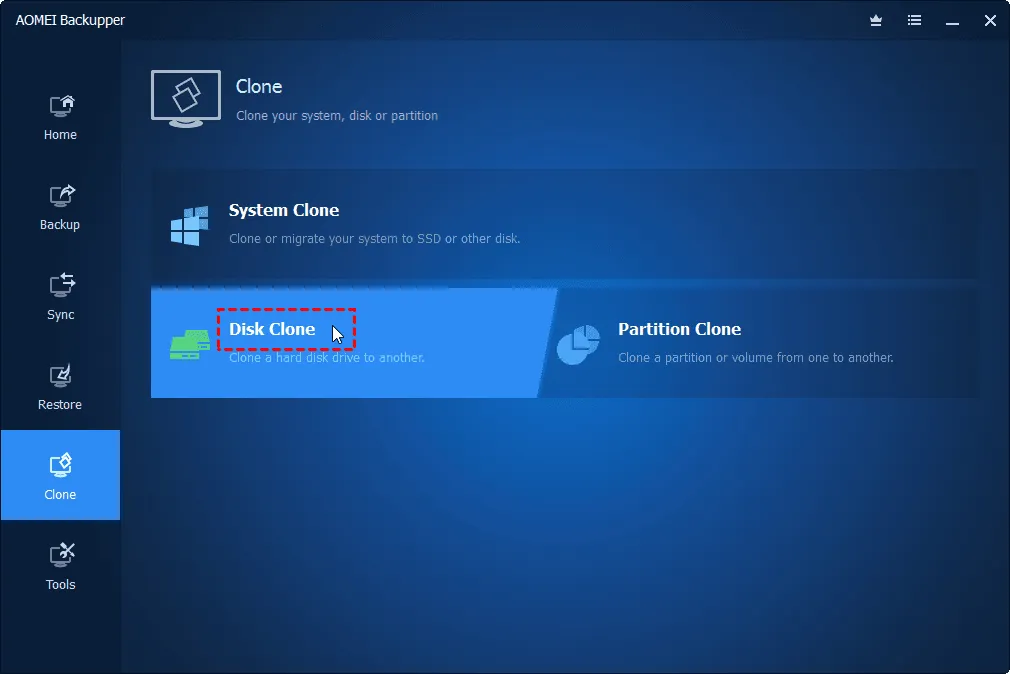
Step 5: Choosing the source drive
Select the source hard disk you wish to clone. This can be the entire disk or specific partitions.
Step 6: Select the destination drive (SSD)
Choose the SSD as the destination drive. Be sure to select the clone option to copy all partitions.
Step 7: Configure cloning options
Some applications offer advanced options. Configure these to suit your needs. You can usually choose to resize partitions, align sectors, etc.
Step 8: Check settings
Before launching the cloning process, check all the settings one last time to avoid any errors. Make sure everything is correct.
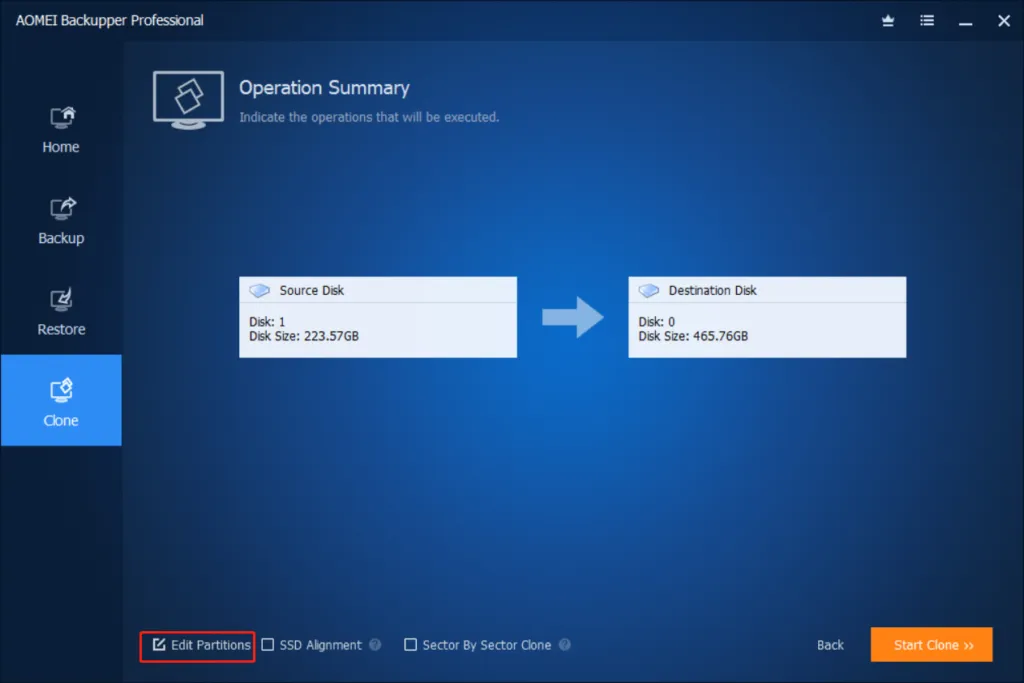
Step 9: Start cloning
Click the clone button to start the process. The software will start copying data from the source hard drive to the SSD.
Step 10: Cloning verification
Once the cloning is complete, check that all data has been successfully transferred to the SSD. You can also check the capacity used on the SSD to make sure everything went as planned.
Step 11: Disconnect the source hard drive
Once you have confirmed that the cloning was successful, turn off your computer, disconnect the source hard drive and make sure that the SSD is properly connected.
Step 12: Restart
Restart your computer. Make sure the SSD is configured as a boot disk in the BIOS/UEFI. Your system should now boot from the SSD.
Congratulations! You have successfully cloned your hard drive to an SSD. Your system should now benefit from improved performance thanks to the increased speed of the SSD.
Cloning a hard drive to an SSD may seem complex at first, but with the right tools and our detailed guide, you can do it hassle-free. Enjoy the benefits of faster storage and improve your computer’s overall performance. Follow our tips for an easy cloning process.
Share this content:


Leave a Reply